
We are all about making things easier here at kurateit.wpengine.com. So, after getting frustrated with creating our own automated email series, we decided to write this how-to series that will walk you through a step-by-step setup of several different tools you need to build your email list and start your automated email campaign with WordPress and Emma.
This guide will walk you through setting up the SumoMe – Emma integration and ensuring that your automated emails are triggered when a user signs up on your website.
EMMA SIDE
I’ve found that the best way to set-up an automation workflow with SumoMe and Emma is to start by building the automation workflow in Emma.
1. Create a New Automation Workflow
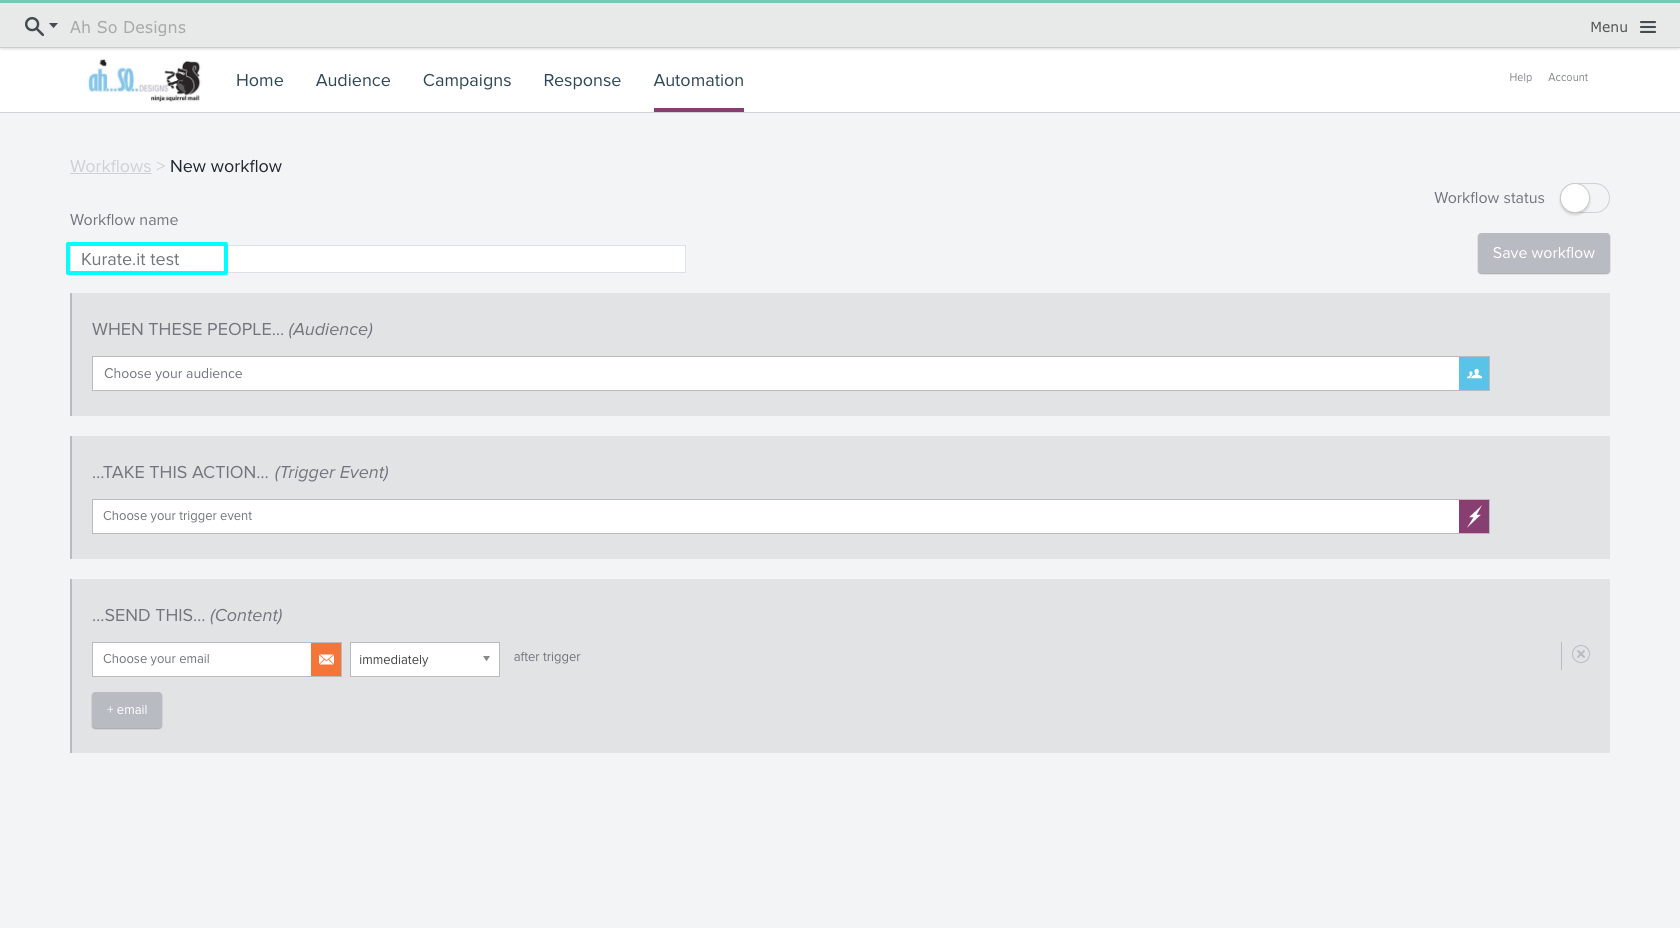
In your Emma Dashboard, click the Automation tab, then click the “Create a New Workflow” button. Name it something that you’ll remember (subscribers won’t see the name).
2. Choose Your Group
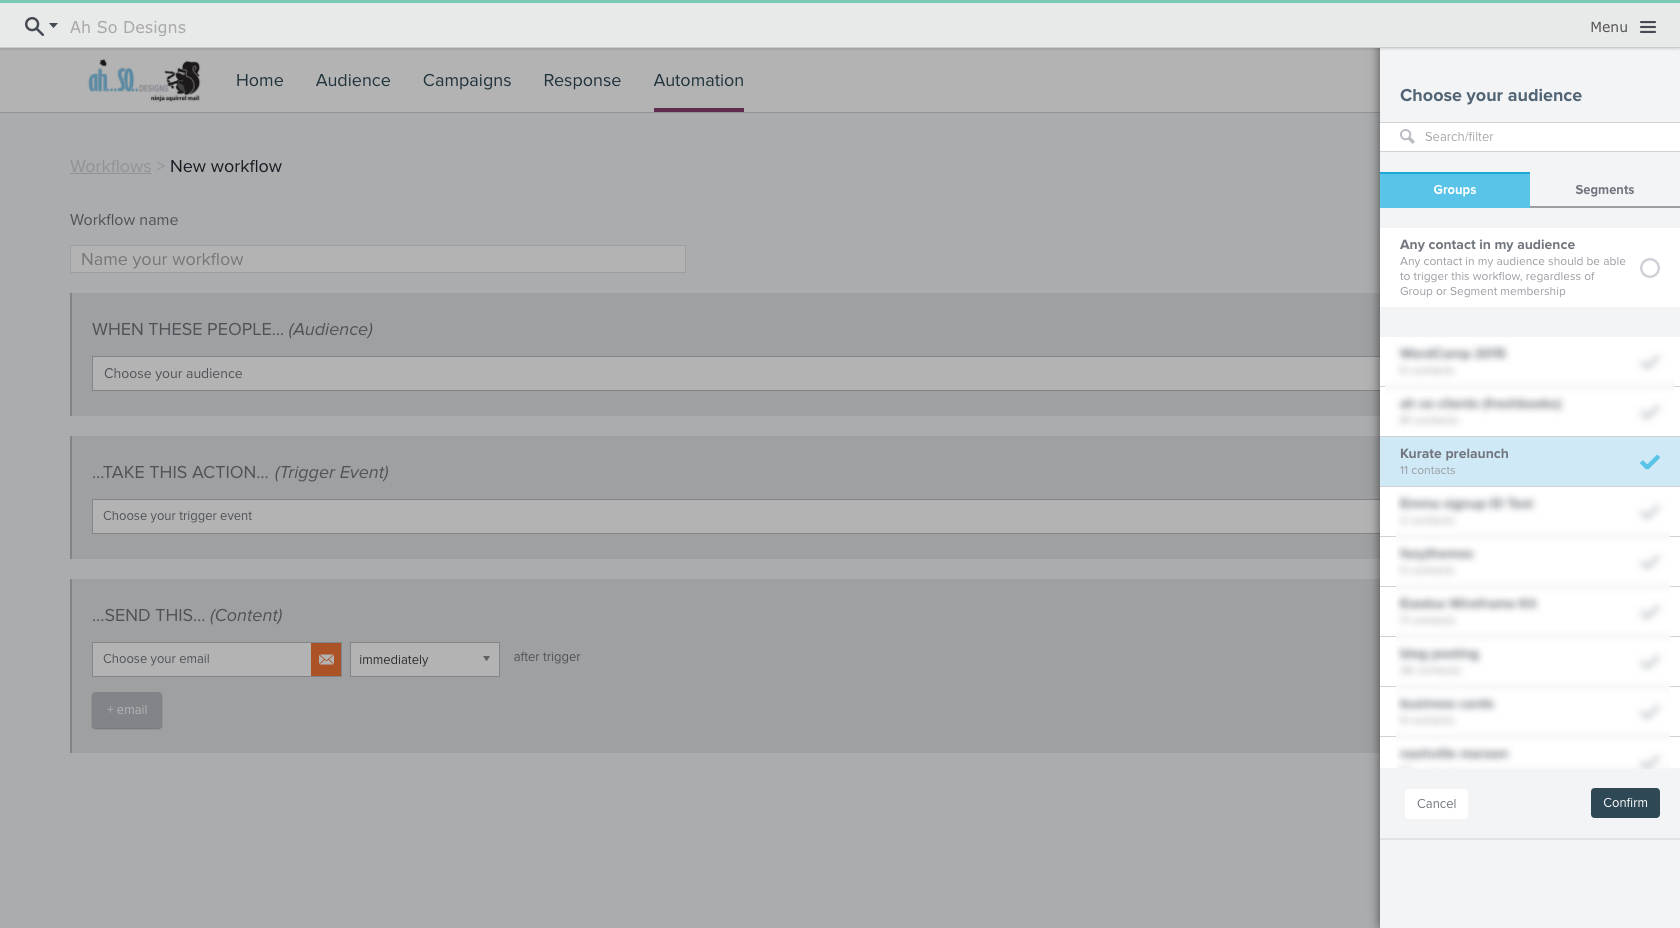
Choose the group you’re going to send automated emails to (Note: You can select multiple groups or you can select all groups if you so desire).
3. Setting up a Trigger Event
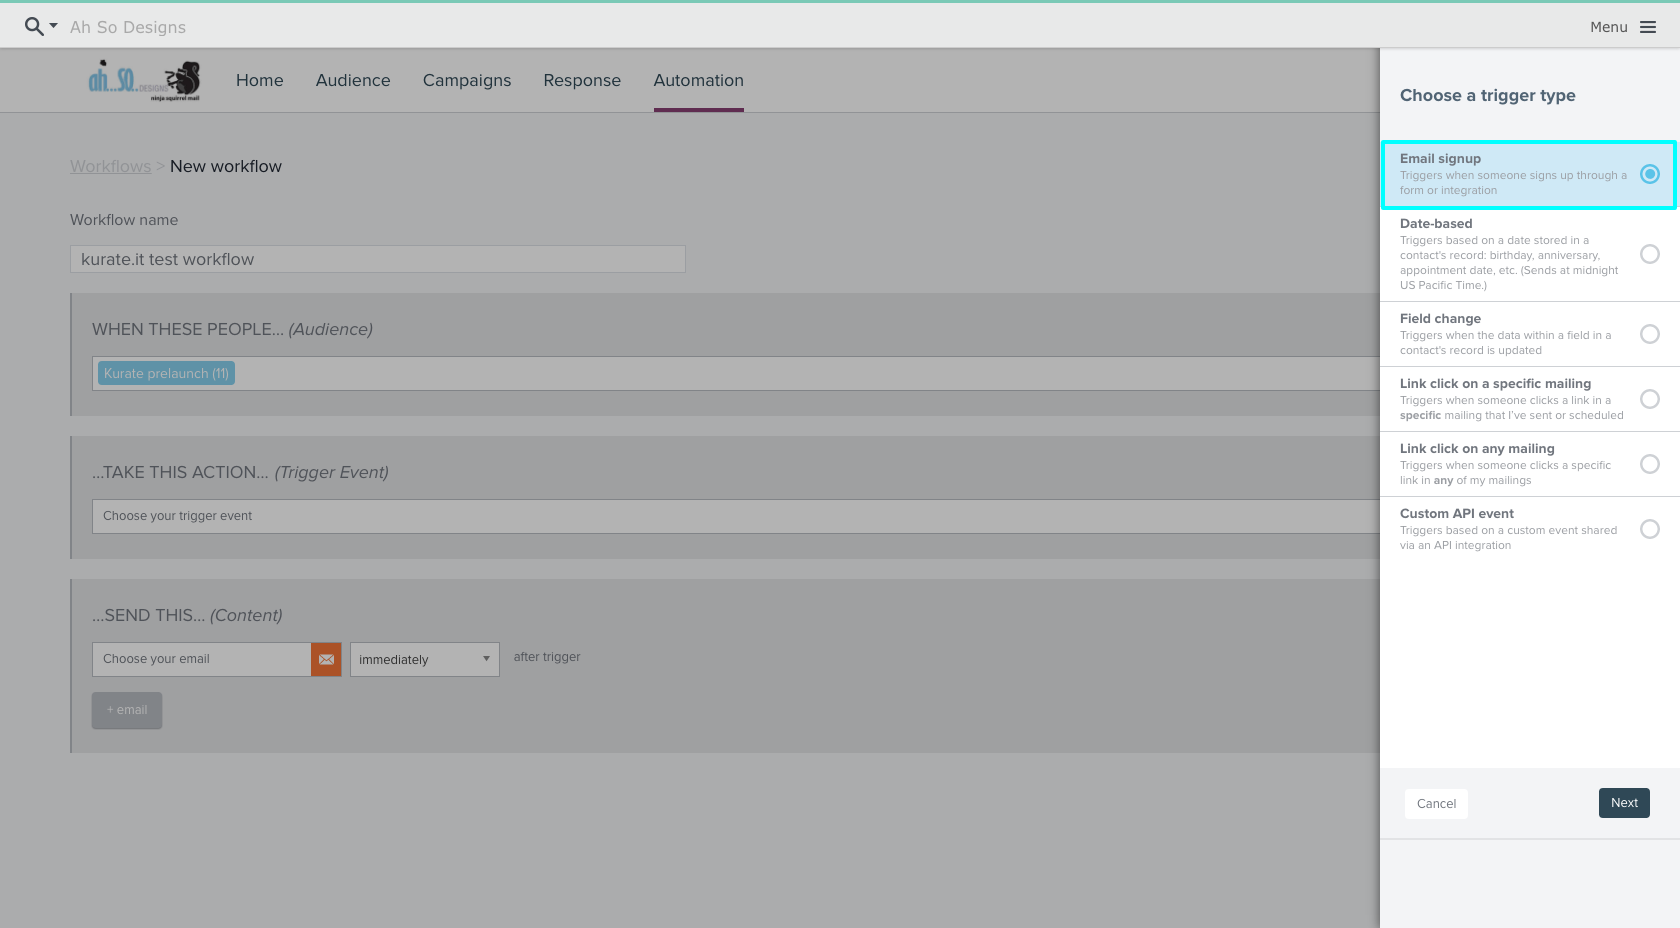
After you’ve chosen your group, it’s time to setup what Emma calls a trigger event (i.e. when someone does X it will trigger Y). Click “Choose your trigger event” then select “Email signup” as your trigger type.
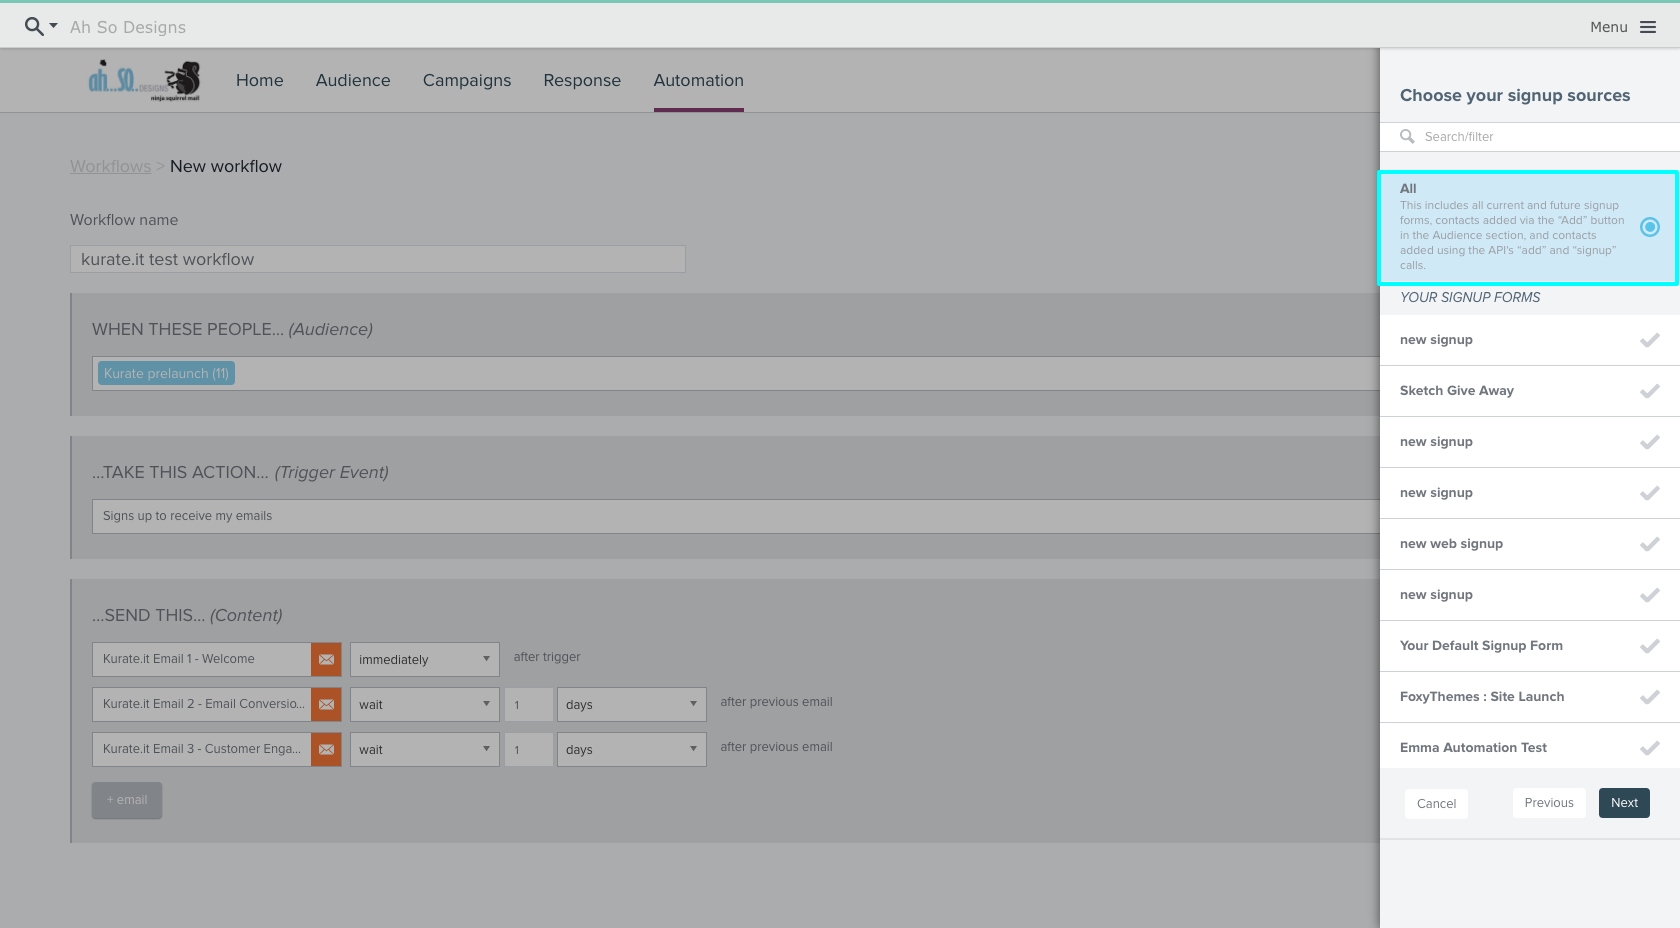
Click “Next” and make sure “All” is selected as your signup source (This is THE MOST IMPORTANT STEP for the SumoMe integration). Click “Next” then “Confirm”.
4. Setup Emails and Timing
Next you need to choose the emails you want to send and the timing you will send them in. In this example, we’ll include a series of 3 emails. The first will be a welcome email sent immediately after someone signs up and the next two will be sent over the next two days.
Choose your first email and customize the Subject Line, From Name and From Email, then set the timing to “immediately”
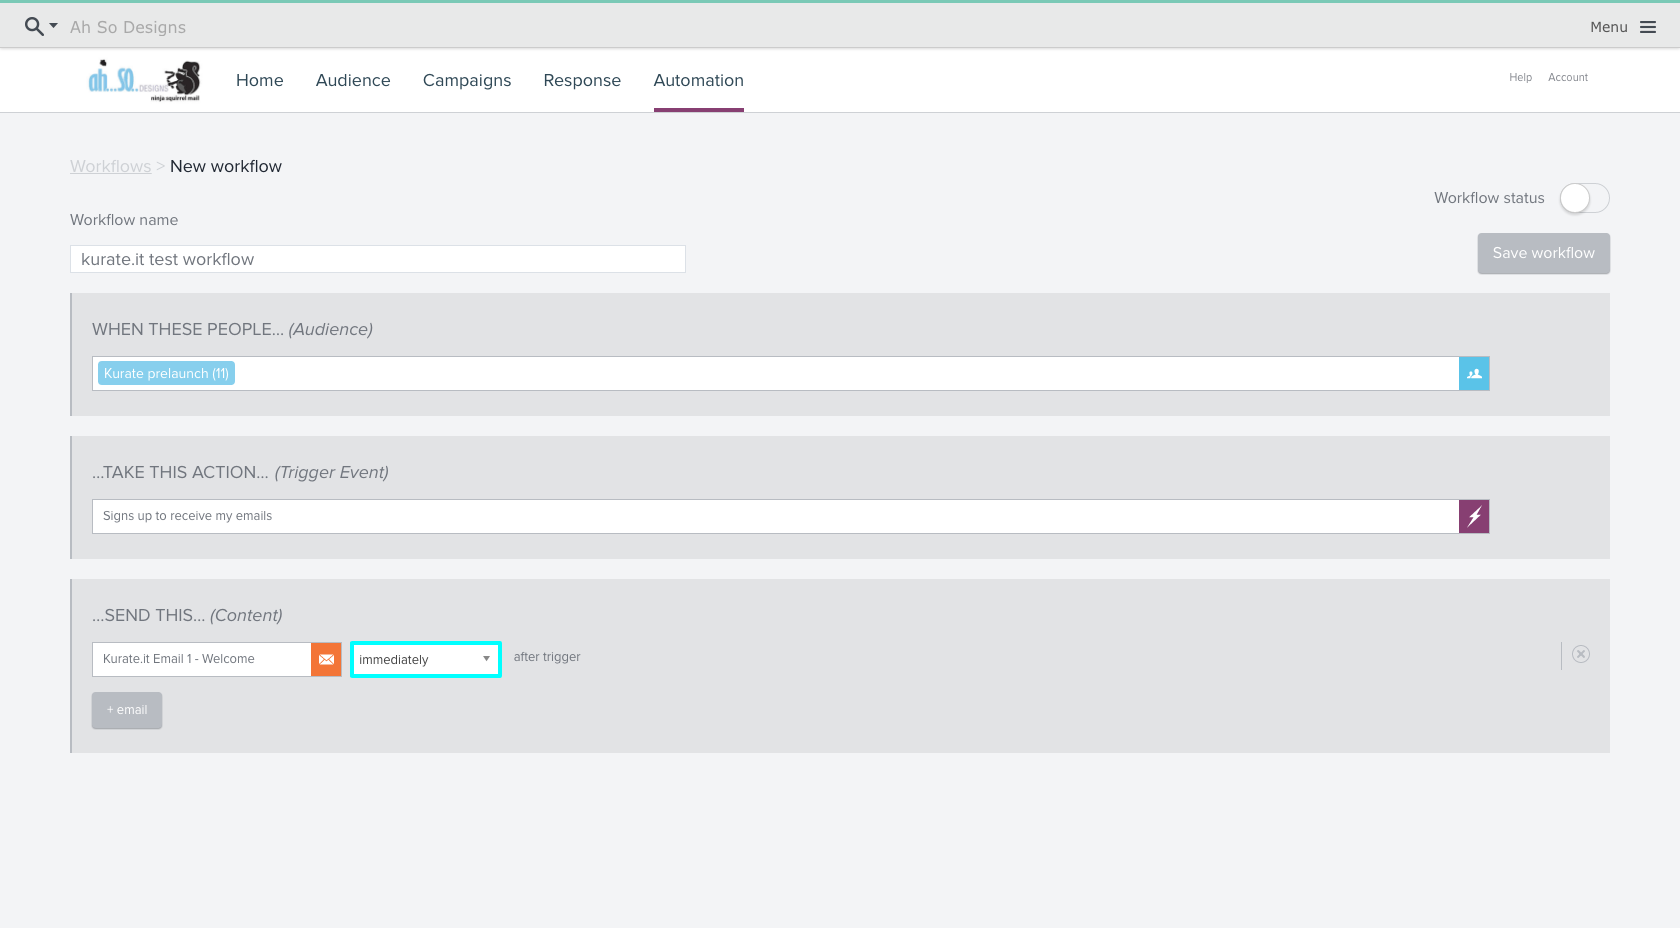
Click “+ email” and select the next email you want to send. We want this one to be sent 1 day after the initial email:
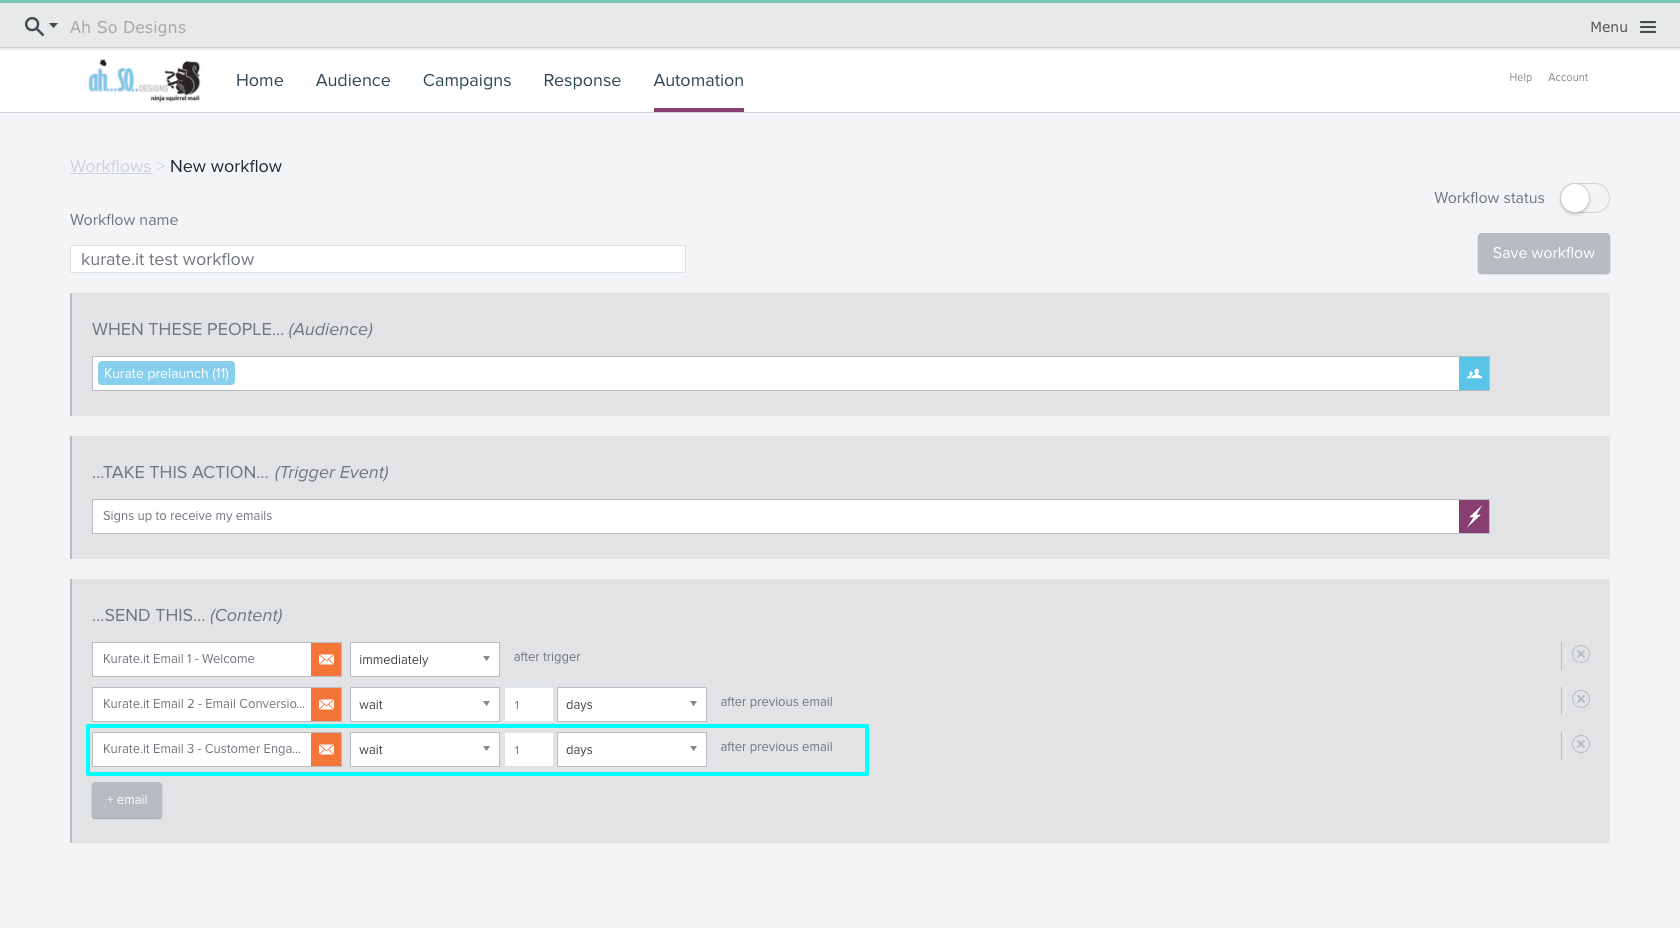
Repeat the last step for each day you want to send an email.

SUMOME SIDE
Now that your automated workflow is setup in Emma, well switch over your WordPress site to make the connection between SumoMe and Emma.
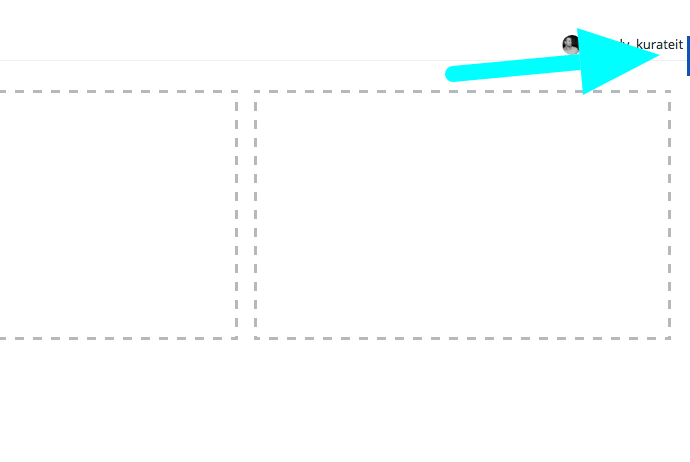
A quick note before we dive in: SumoMe is setup a little differently than most WordPress plugins. They’ve built their own dashboard, and once you install the plugin, it will walk you step-by-step through setting up various SumoMe products/features. If you exit the tutorial and need to find SumoMe again, it’s hiding in the tiny blue bar on the far right side of your screen.
1. Install List Builder
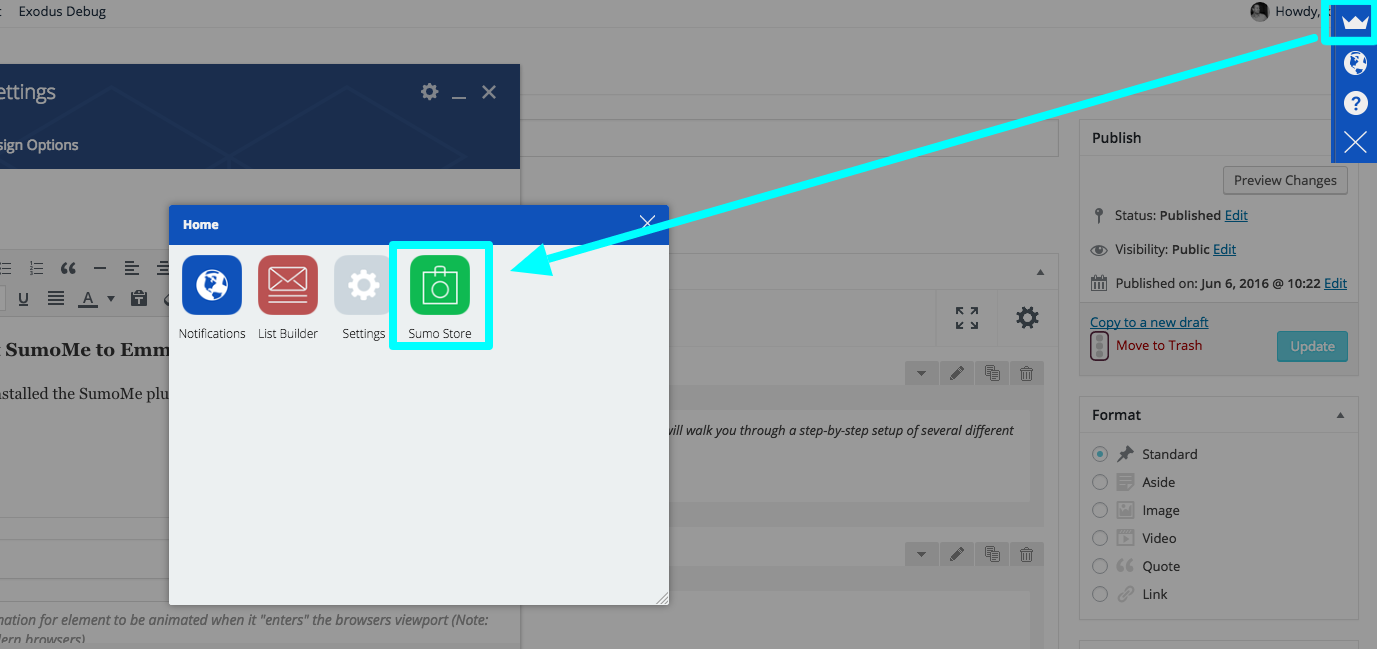
From your SumoMe dashboard, head to the SumoMe Store and make sure the List Builder extension is installed (it’s free).
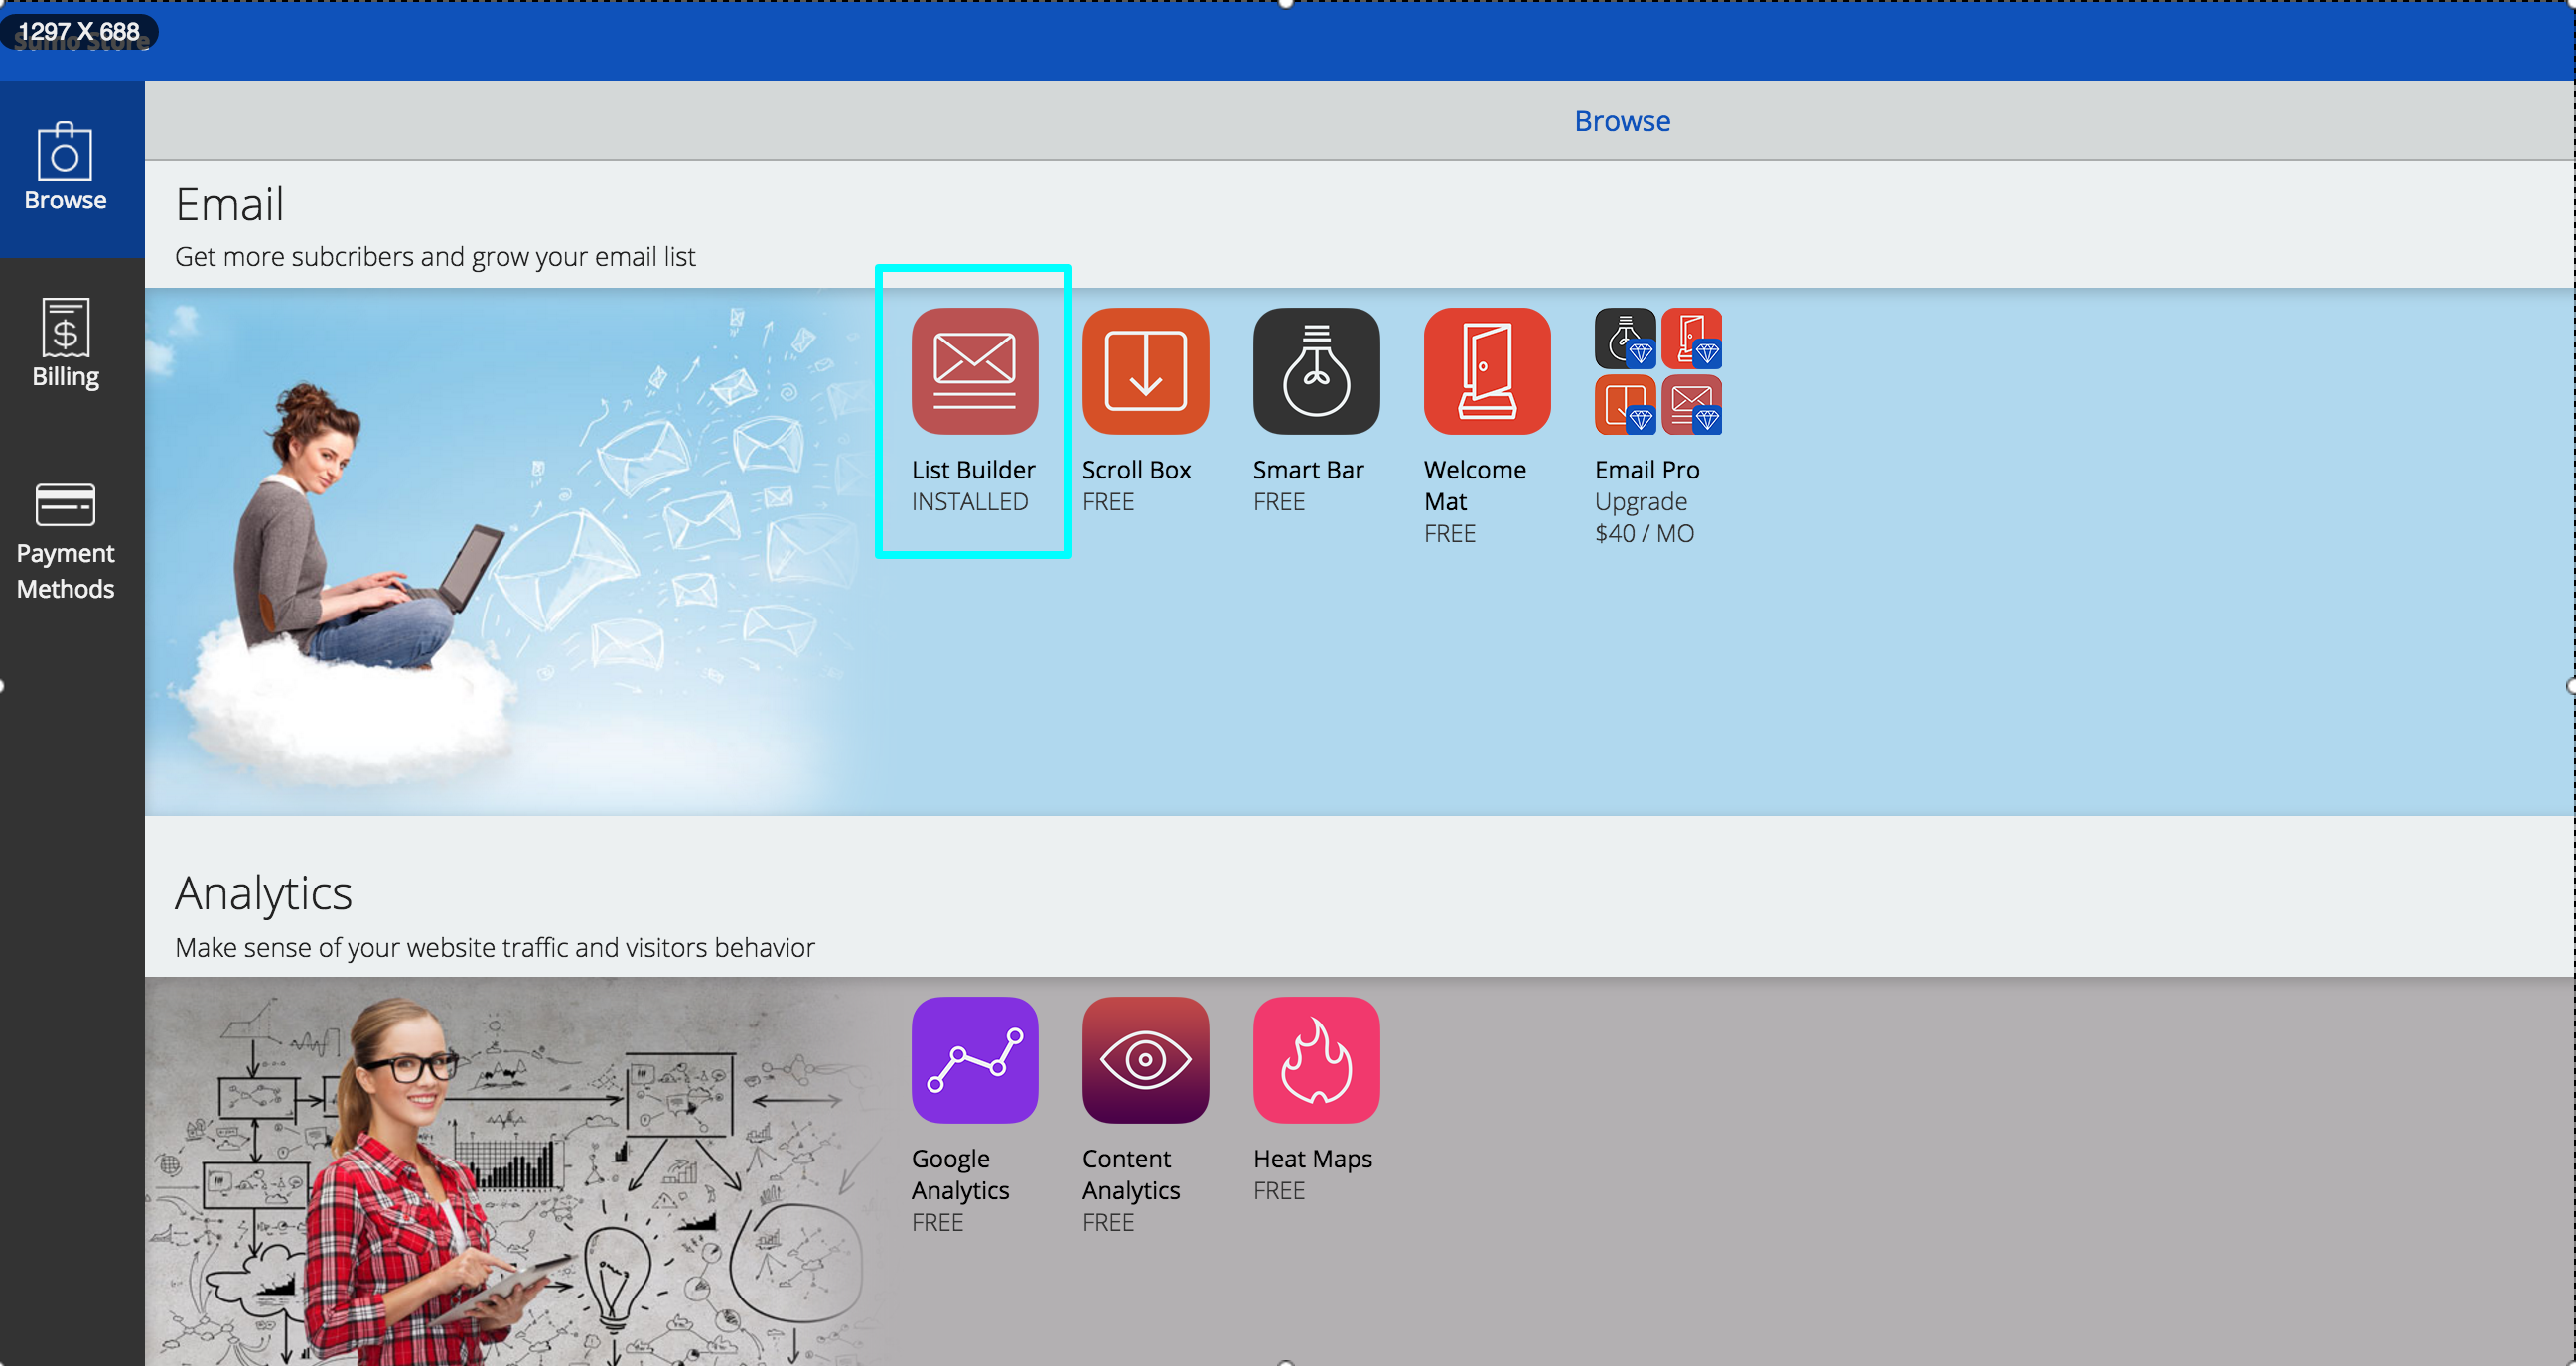
2. Connect SumoMe to Emma
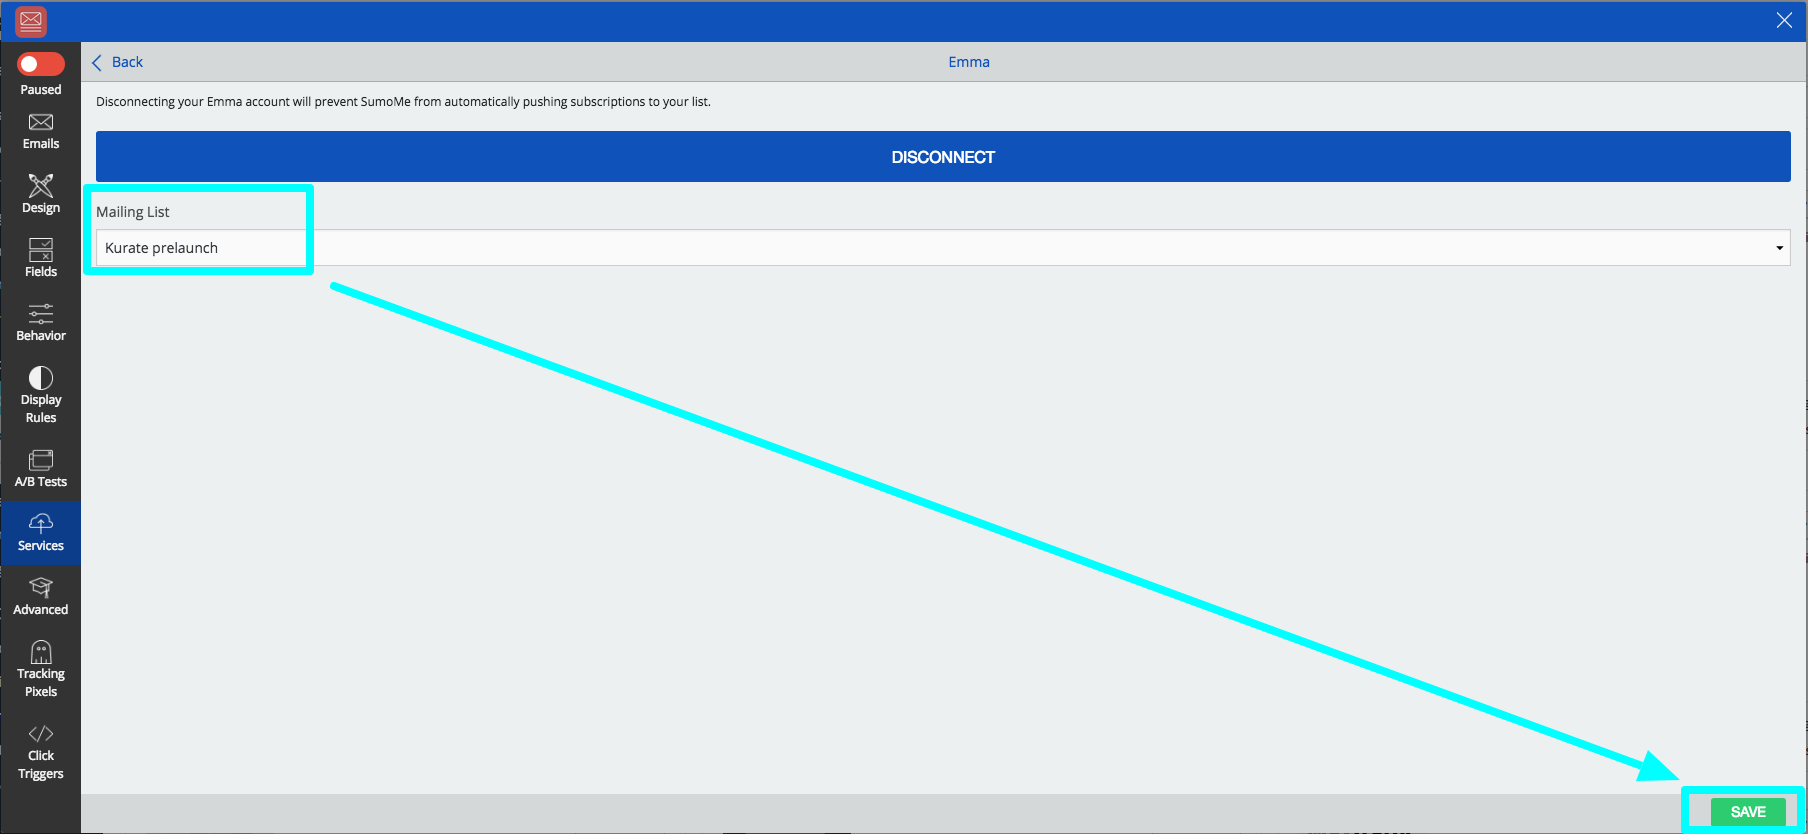
Under the Services tab within the List Builder, connect your campaign to Emma by logging into your Emma account and choosing the list you want to add your subscribers to.
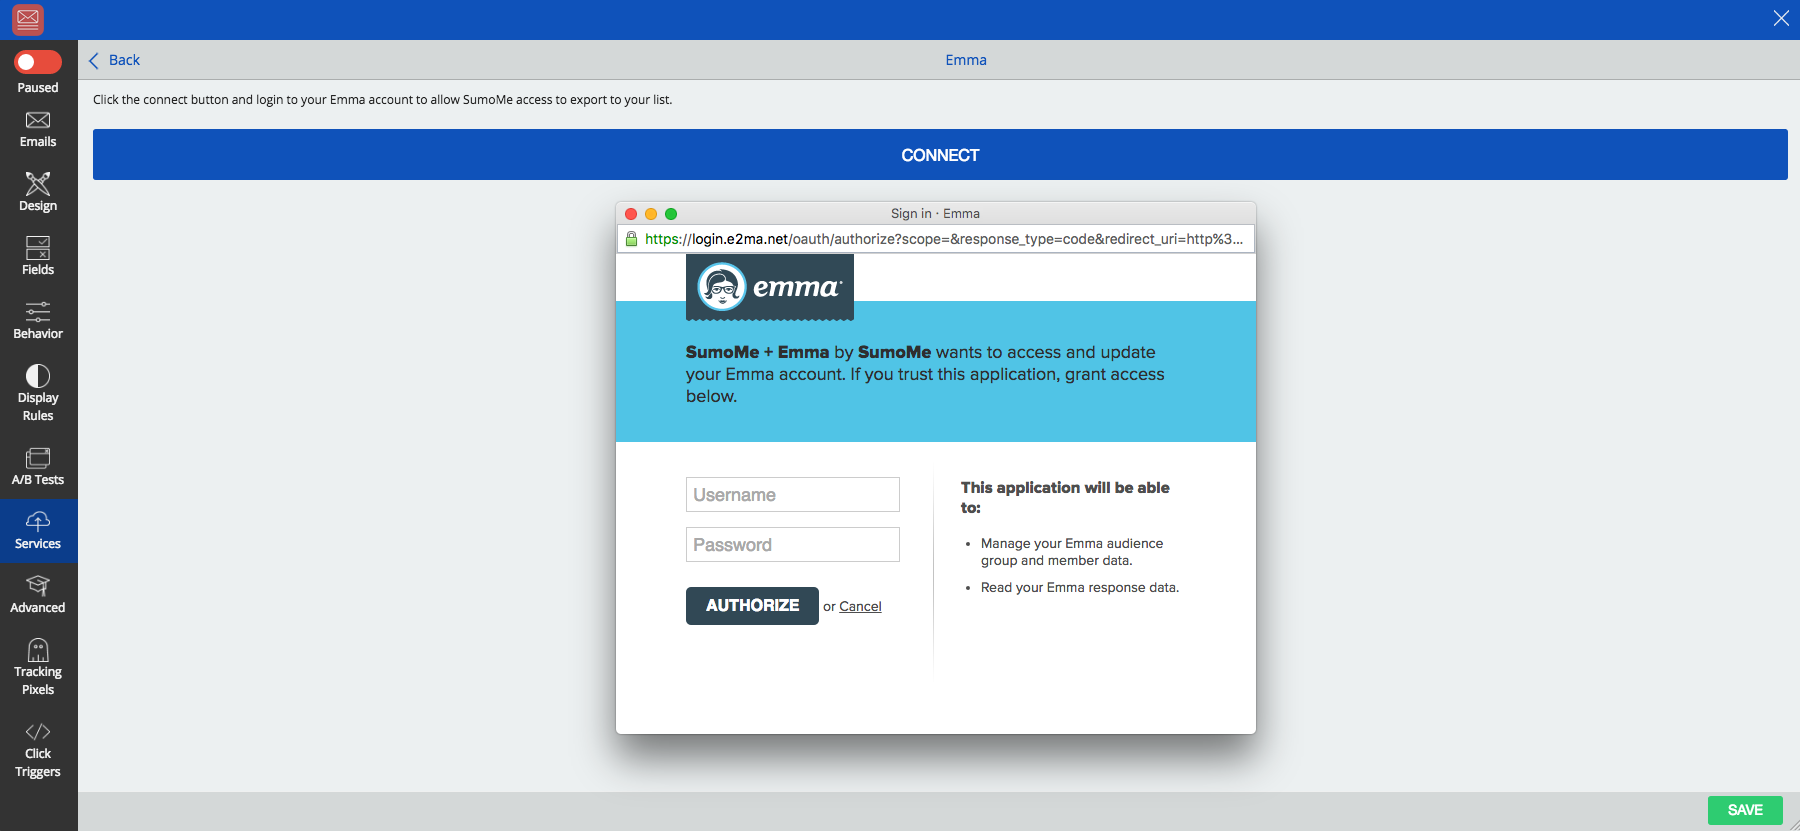
3. Customize Your Form
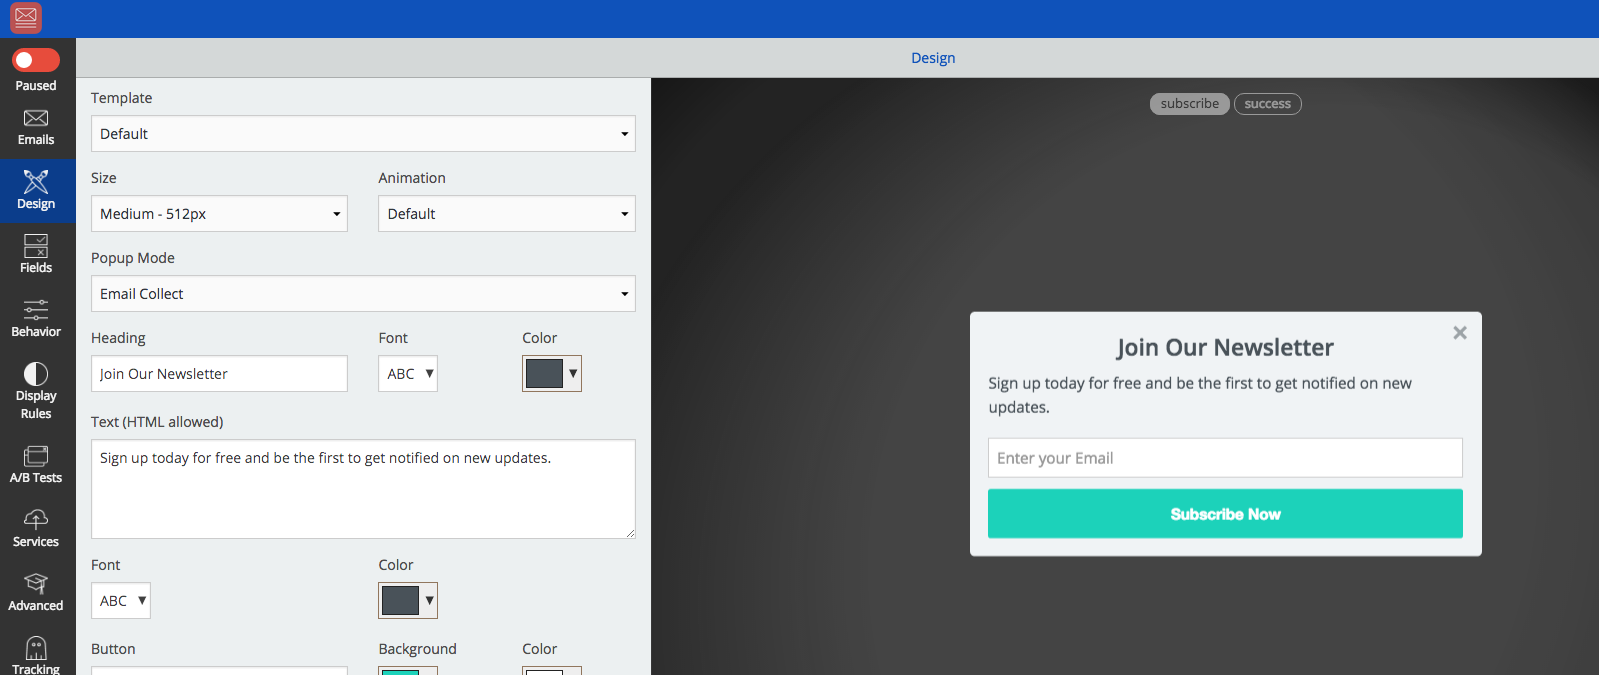
With SumoMe, you have tons of options. Customize your design, redirect users to a specific page when after submitting their email, select the pages your form is displayed on, and so much more! Play around a bit to find the best results.
Ready to take your email automation to the next level?
Kurate.it sends emails from WordPress through Emma. Choose a plan or let us help you customize your kurate campaigns and get started today!
