We are all about making things easier here at kurateit.wpengine.com. So, after getting frustrated with creating our own automated email series, we decided to write this how-to series that will walk you through a step-by-step setup of several different tools you need to build your email list and start your automated email campaign with WordPress and Emma.
This guide will walk you through setting up the Ninja Forms – Emma integration and ensuring that your automated emails are triggered when a user signs up on your website.
EMMA SIDE
I’ve found that the best way to set-up an automation workflow with Ninja Forms and Emma is to start by building the automation workflow in Emma.
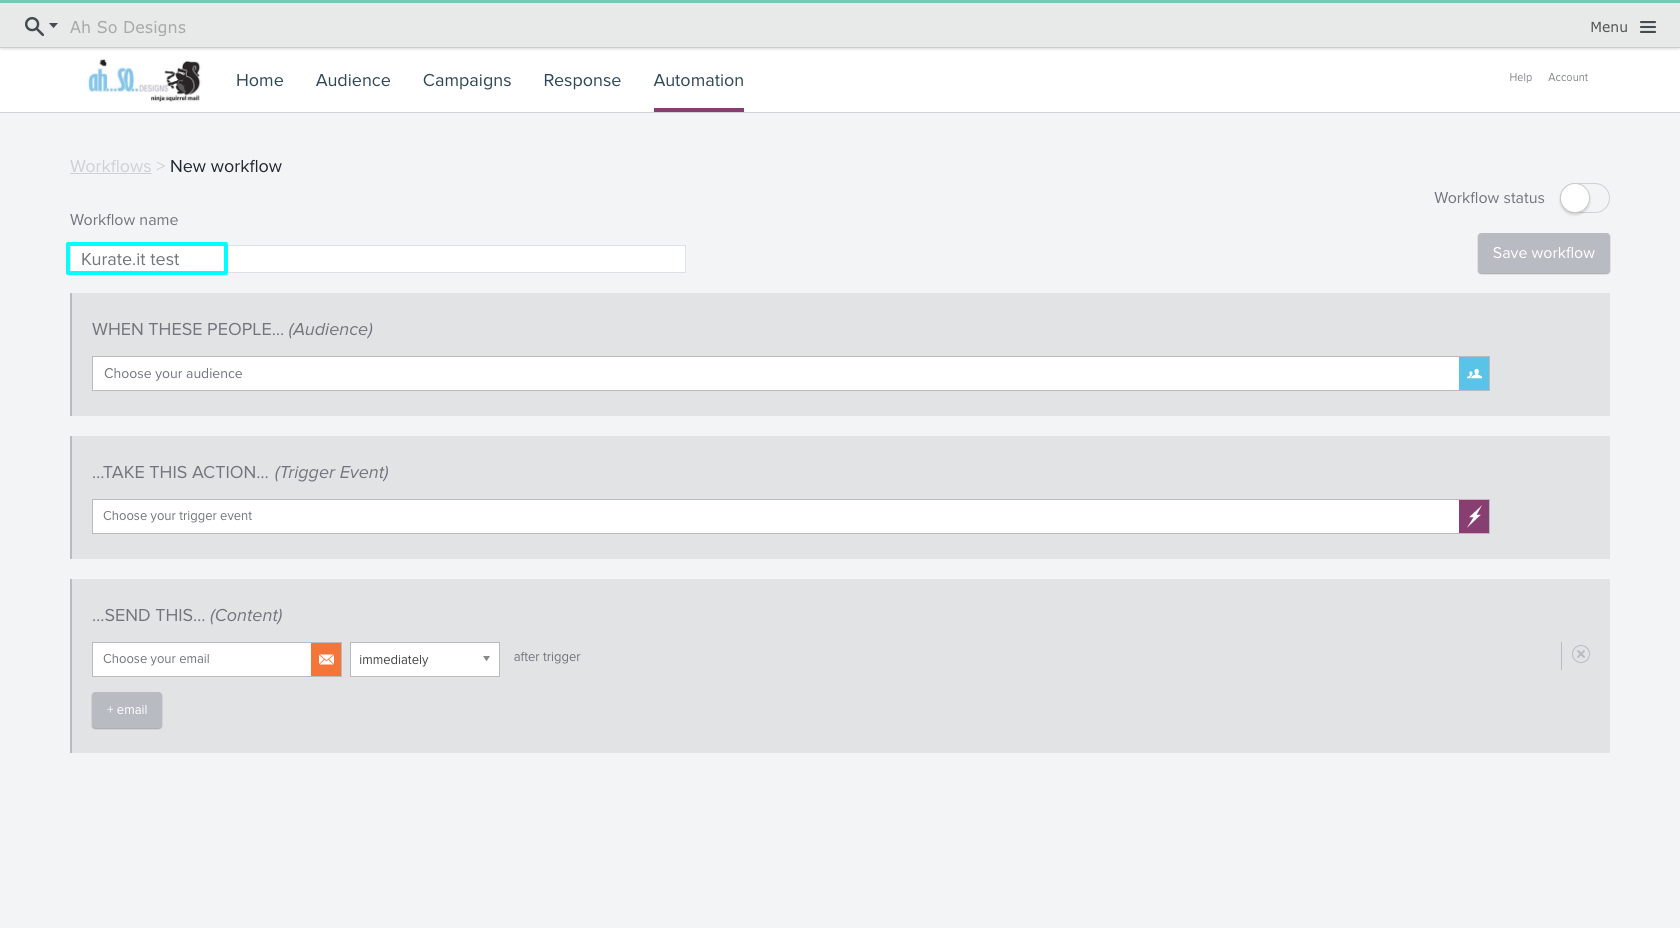
1. Create a New Automation Workflow
In your Emma Dashboard, click the Automation tab, then click the “Create a New Workflow” button. Name it something that you’ll remember (subscribers won’t see the name).
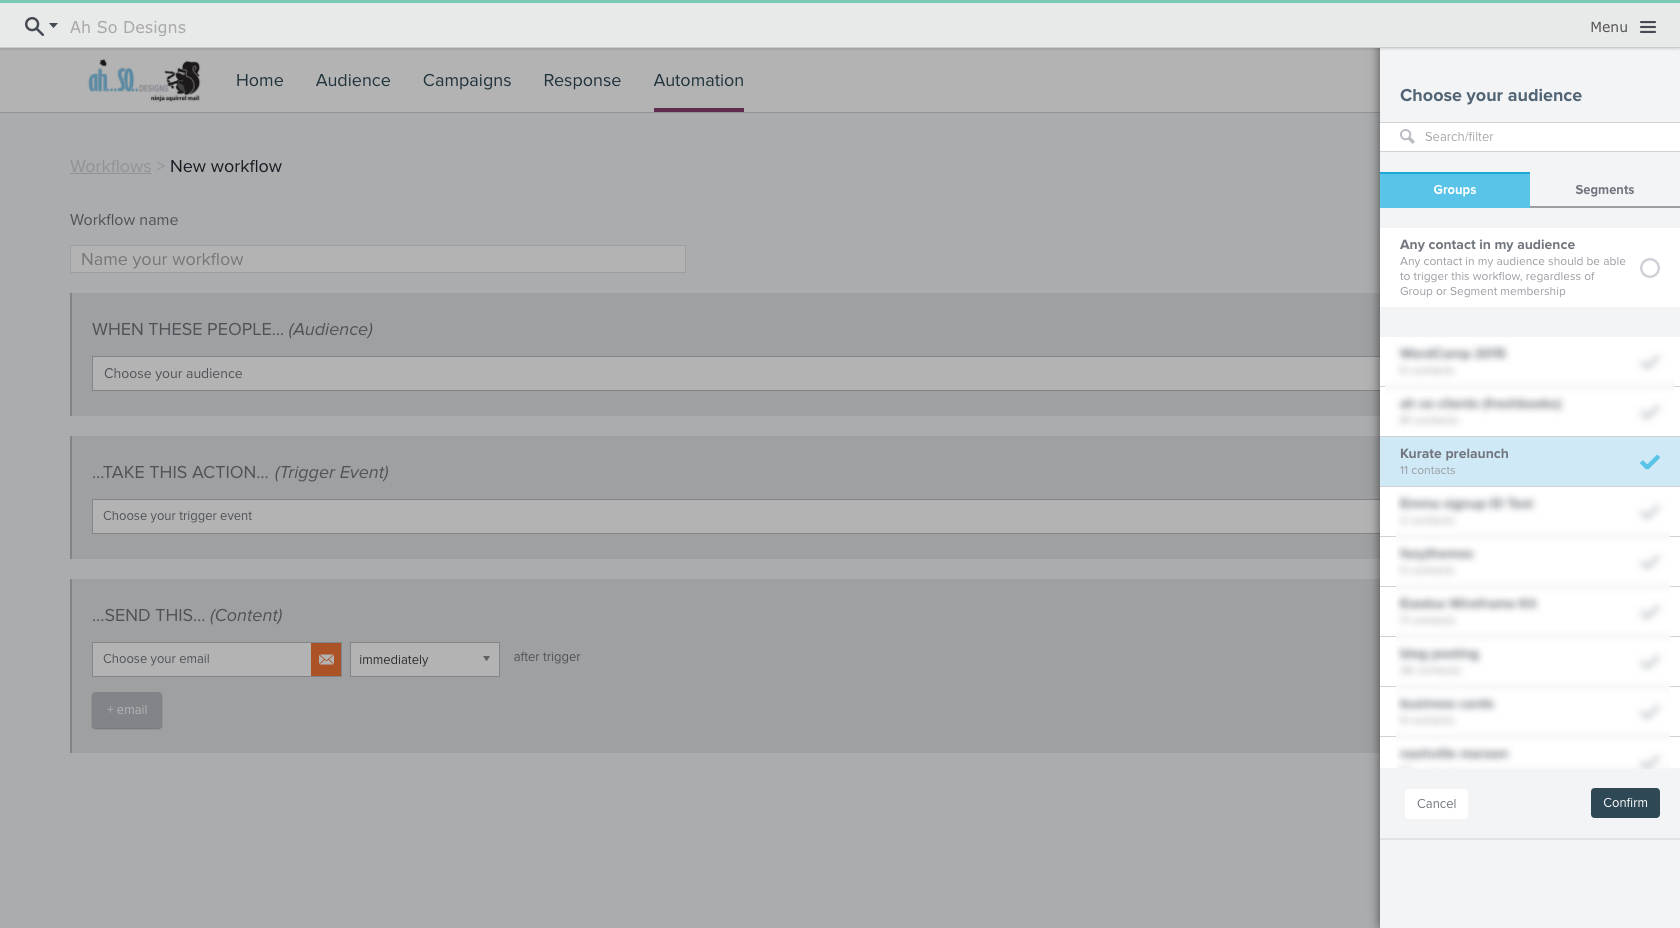
2. Choose Your Group
Choose the group you’re going to send automated emails to (Note: You can select multiple groups or you can select all groups if you so desire).
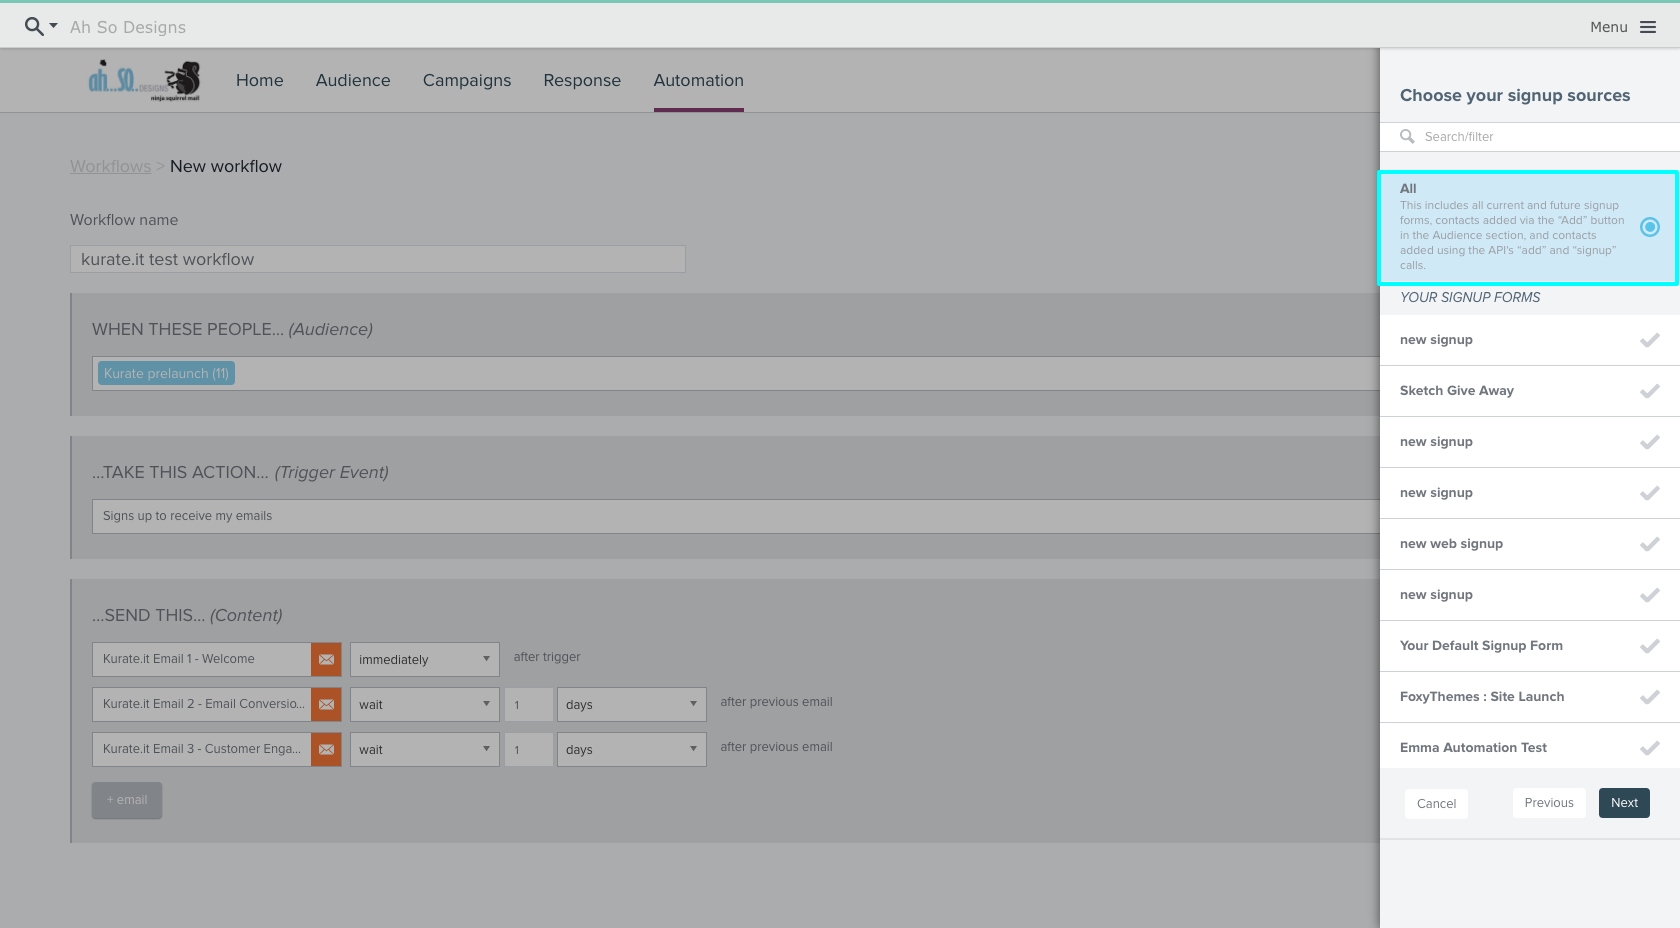
3. Setting up a Trigger Event
After you’ve chosen your group, it’s time to setup what Emma calls a trigger event (i.e. when someone does X it will trigger Y). Click “Choose your trigger event” then select “Email signup” as your trigger type.
Click “Next” and make sure “All” is selected as your signup source (This is THE MOST IMPORTANT STEP for the Ninja forms integration). Click “Next” then “Confirm”.

4. Setup Emails and Timing
Next you need to choose the emails you want to send and the timing you will send them in. In this example, we’ll include a series of 3 emails. The first will be a welcome email sent immediately after someone signs up and the next two will be sent over the next two days.
Choose your first email and customize the Subject Line, From Name and From Email, then set the timing to “immediately”

Click “+ email” and select the next email you want to send. We want this one to be sent 1 day after the initial email:
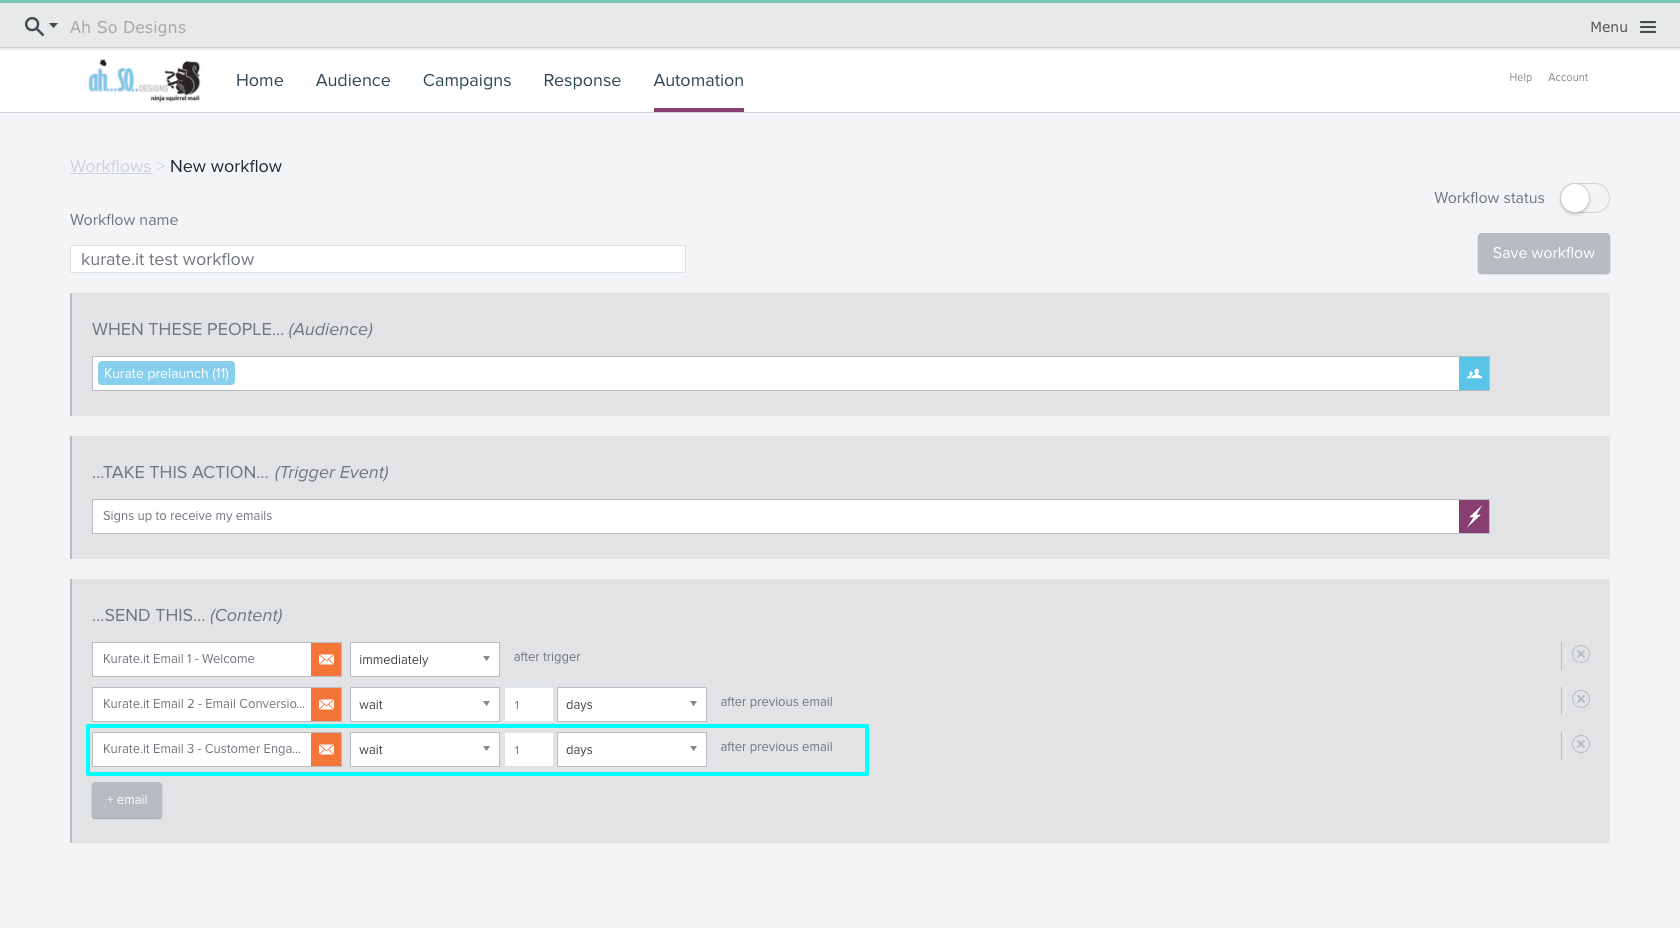
Repeat the last step for each day you want to send an email.
NINJA FORMS SIDE
Now that your automated workflow is setup in Emma, well switch over your WordPress site to make the connection between Ninja Forms and Emma.
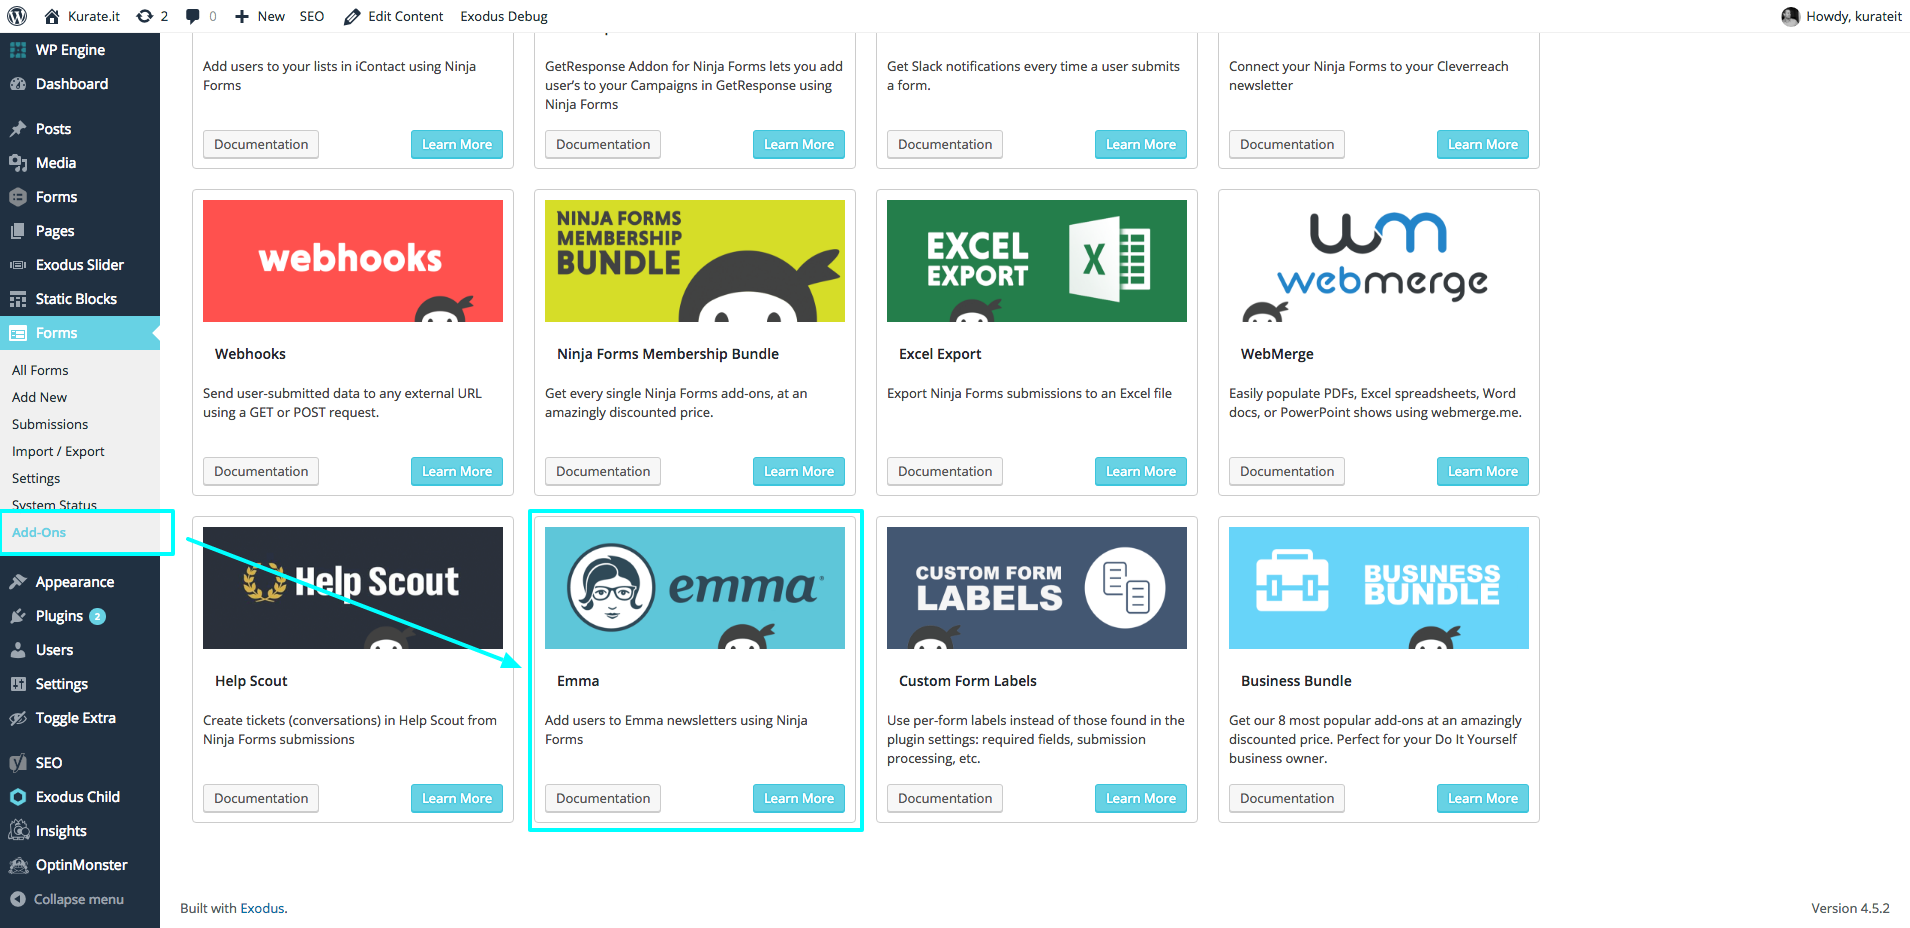
1. Install the Emma add-on
Make sure you have the Emma add-on for Ninja Forms installed on your WordPress site. The integration can be found under the add-on’s sub-tab under the Forms primary tab. You can also purchase the add-on by clicking here.
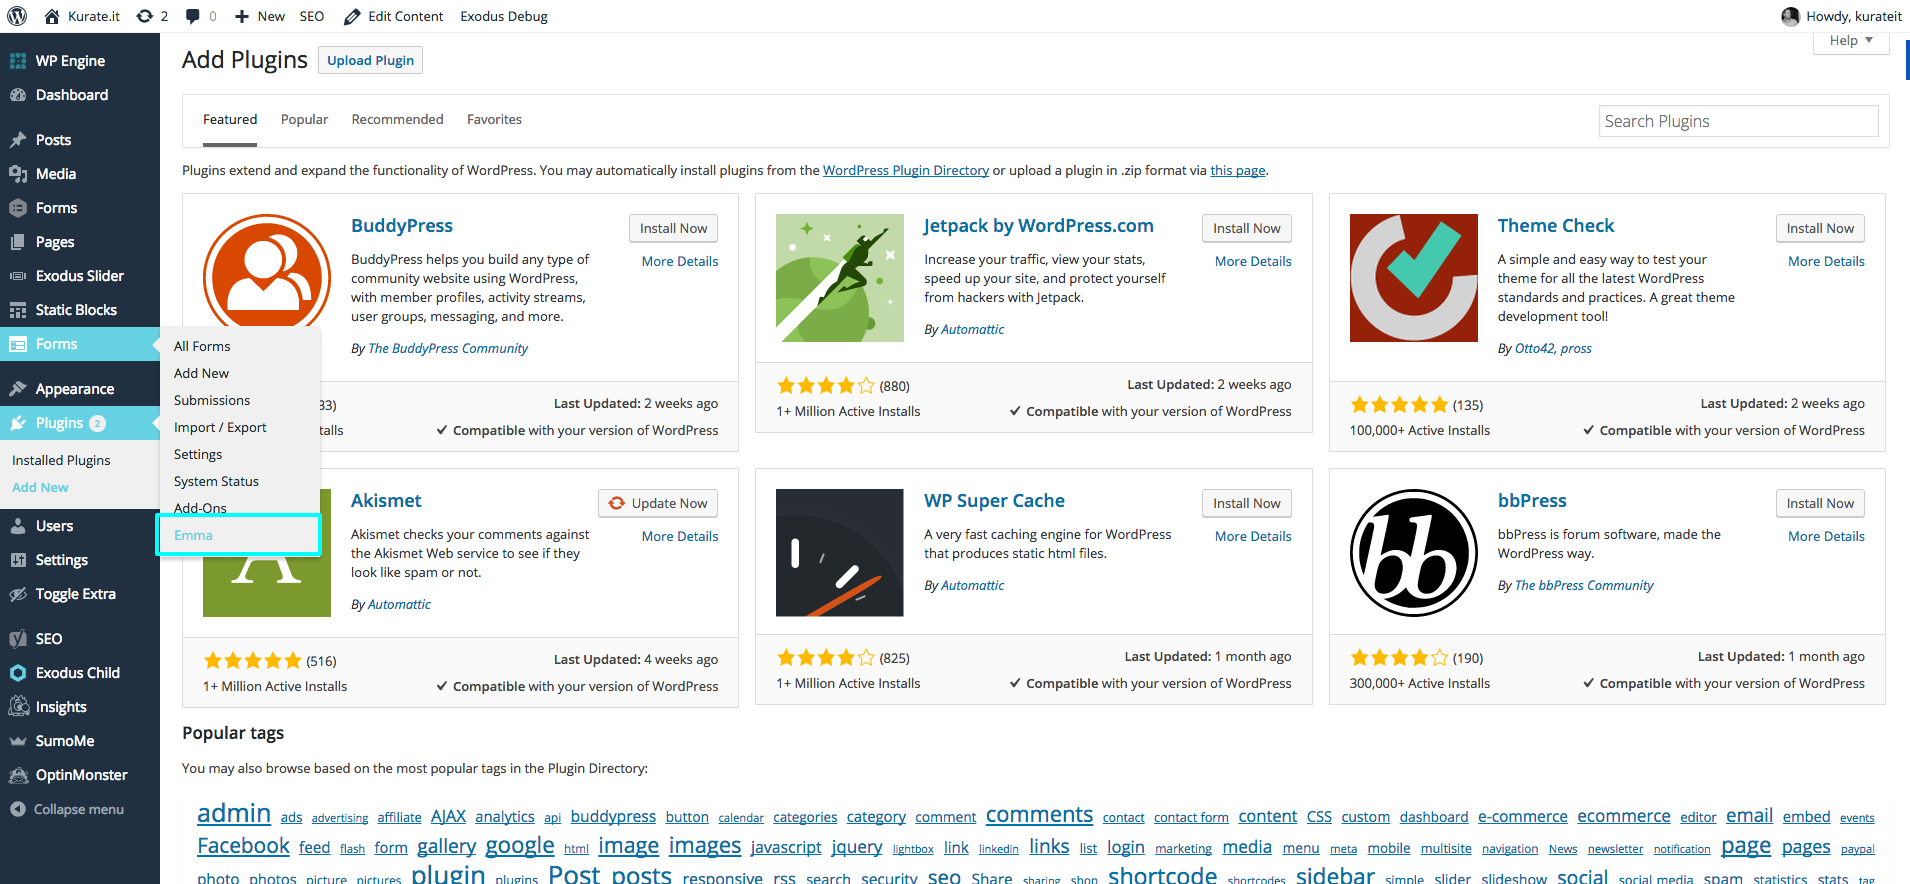
Once you’ve purchased the add-on, you’ll be able to download the .zip file from Ninja Forms. Upload the .zip file to your site by navigating to Plugins > Add New > Upload Plugin. After uploading the plugin make sure you activate it.
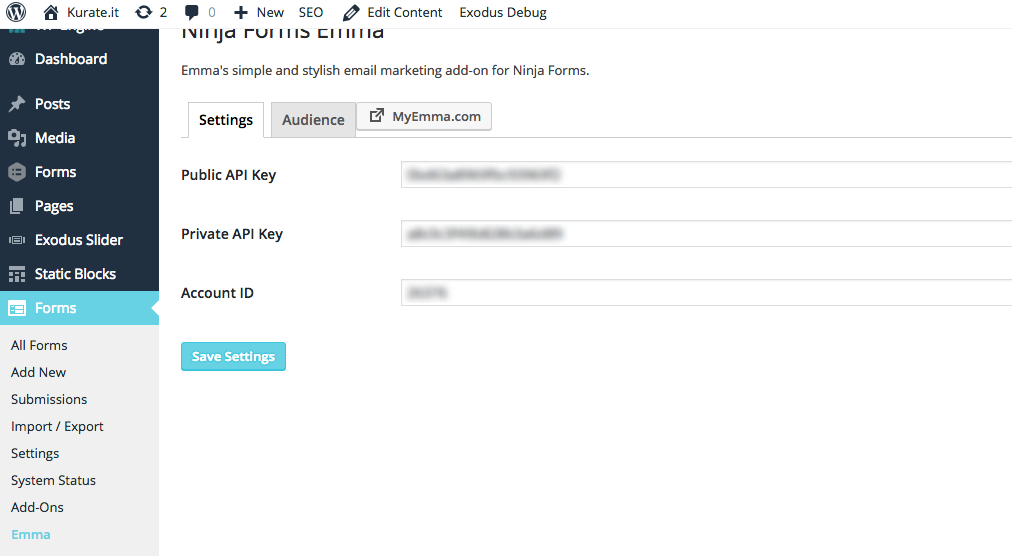
2. Configure the Integration
Setup the integration by adding your Account ID, Public API Key, and Private API Key to the Emma settings tab within the Ninja Forms Plugin (if you haven’t set up an API key for Emma, or if you can’t remember where it is, click here)
3. Choose your Form
After you’ve connected Ninja Forms to your Emma account, choose the form you want to connect to Emma. This is where the bulk of your work is going to be happening, so pay attention here.
4. Create a New Action
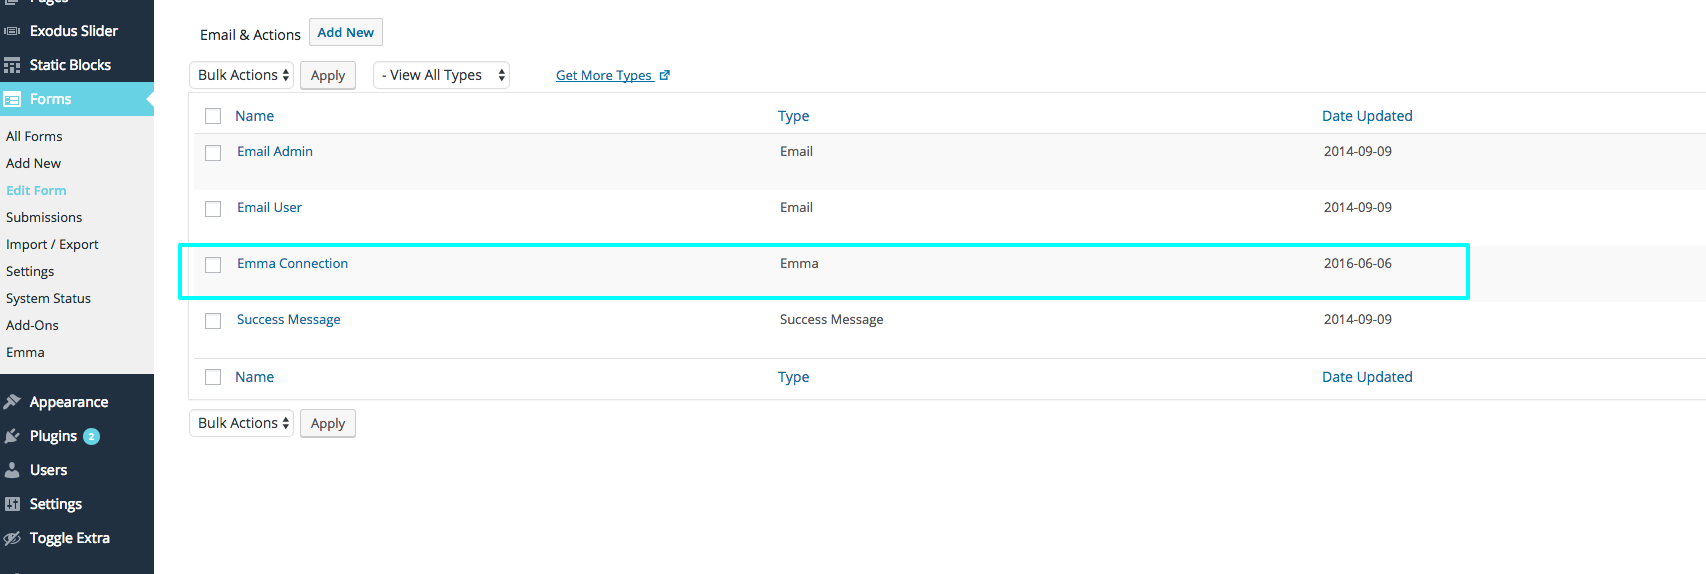
From the individual form page, select the “Email & Actions” tab and click “Add New”.
5. Customize Your Action
Customize your action. Make sure you select Emma from the “Type” dropdown. Here is a definition/instructions for each field:
- Action Name: Unique name of the action you are creating (users won’t see this)
- Type: Make sure you choose Emma from the dropdown
- Groups: Choose the same group that your automation workflow is based on (see Emma Side – step 3).
- First Name Field: Choose the Ninja Forms field that you want to appear as the first name within Emma
- Last Name Field: Choose the Ninja Forms field that you want to appear as the last name within Emma. Our form isn’t collecting a last name, so I left it blank.
- Email Address: Select the Ninja Forms field that will collect emails. Typically titled “Email”
- Opt-In Field: If you have an Opt-in setup, Ninja Forms will transfer that information to Emma.

6. Save Your New Action
And that’s it; you’re good to go! When you return to the email and action list, you should see your emma connection listed. Test out your form to make sure that you’re getting your automated email when you subscribe (Note: there is often a slight delay between filling out the form and receiving the first email, no more than a few minutes).
Ready to take your email automation to the next level?
Kurate.it sends emails from WordPress through Emma. Choose a plan or let us help you customize your kurate campaigns and get started today!